Module 2: Editing a Basic Page
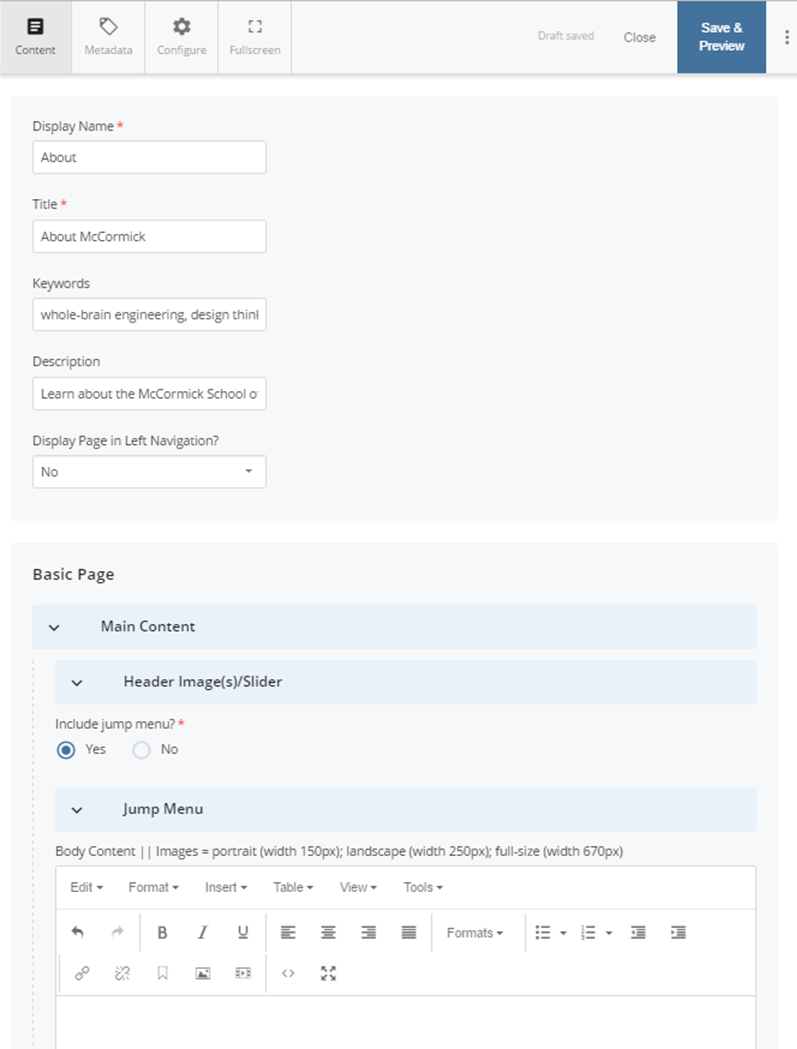
To edit a basic page, select that page from the left-hand navigation tree in the content page. Then choose "Edit." This will bring up the editing view of the page. Here's a look at the editing view of the "About McCormick" page of the site:
Page Location/URL
At the top of the site content window, you'll notice the indication of the page's location in a path directory format: about/index.
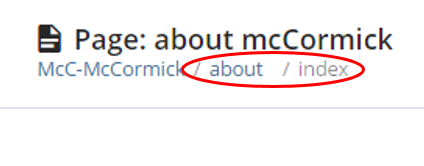
This indicates that the page has an Asset Name of "index" and is located in the "about" folder. It also indicates what the page's url is: http://mccormick.northwestern.edu/**about/index**.html
Note: Because this is an index page, http://mccormick.northwestern.edu/about/ will also direct to this page.
Inline Metadata
When editing an existing page, you'll notice the "Inline Metadata" section is filled in with the page's "Display Name," "Title," etc. The Display Name appears in the left navigation of the site and the "You Are Here" breadcrumbs. The title appears on the actual page.

Learn more on how to fill out this section in the "Include Metadata" subsection of this guide.
Header Image/Slider
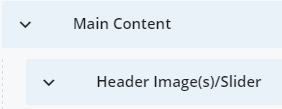
If you would like to include a header image or slideshow at the top of the page, click the downward arrow ∨ to expand the Main Content > Header Image(s)/Slider section.
As you answer the series of "Yes/No" questions about your image(s)/slideshow, options will appear to further indicate specifications such as:
- one header image or a multi-image slider
- automatically cycle through images on the page or leave it up to the user to advance the slideshow
- advance slides every 20 seconds (default) or for a number of seconds you specify
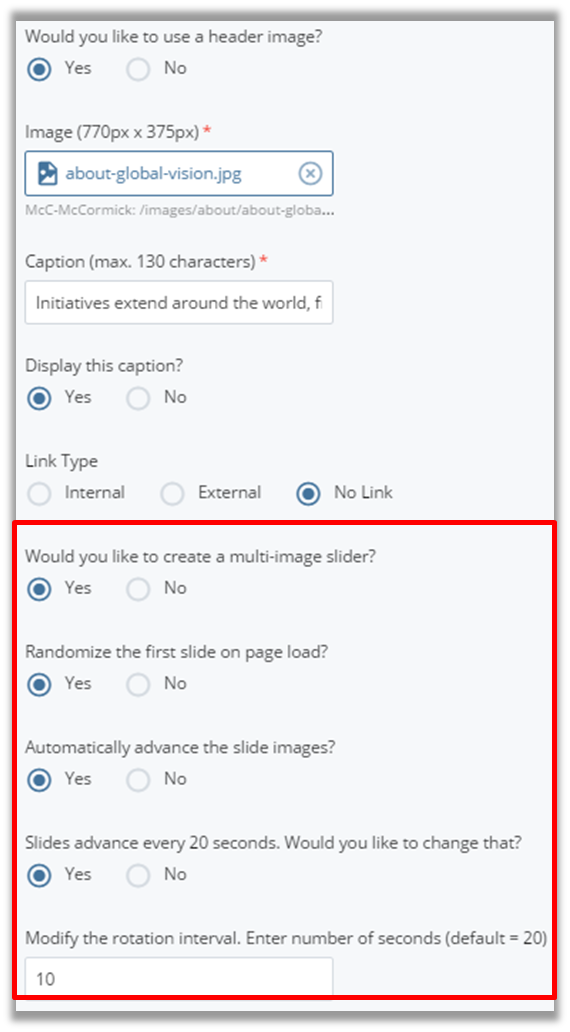
If you've chosen to create a multi-image slider, the area to add the image and caption for each slide will appear below the options:
Click the downward arrow ∨ to expand this section and edit the fields for the slides. Add more slides by clicking the green plus sign  at the top right of the expanded slide area.

Jump Menu
The basic page type has a Jump Menu option to create a list of links to various sections of the page. This is ideal for lengthy pages on a responsive site so mobile users can skip to the information they’re looking for rather than scrolling through all the page’s content.
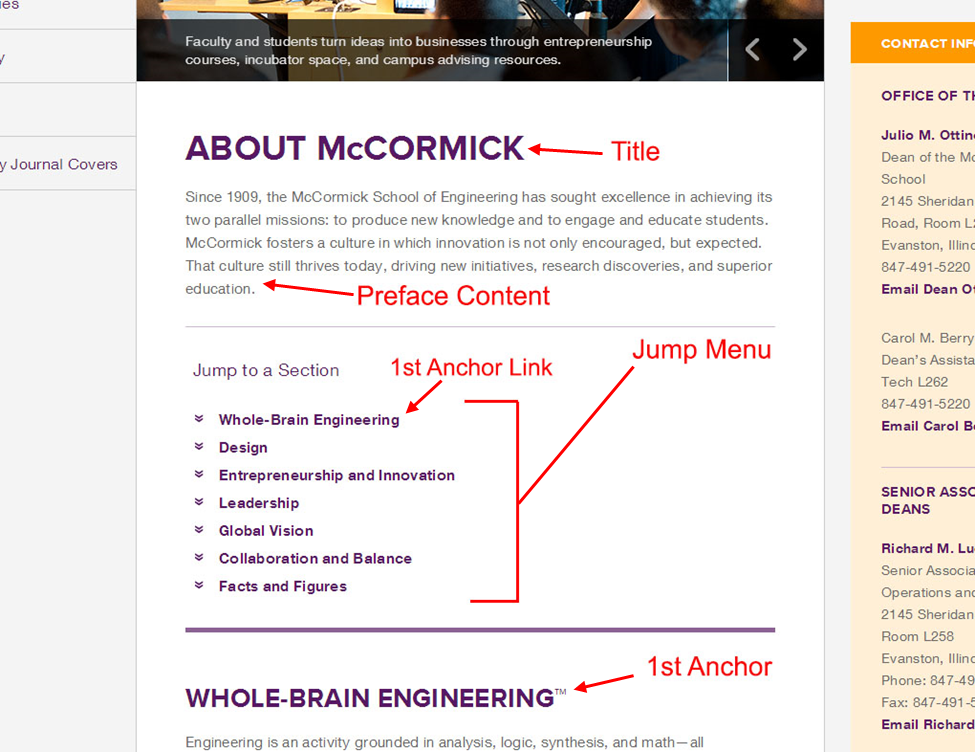
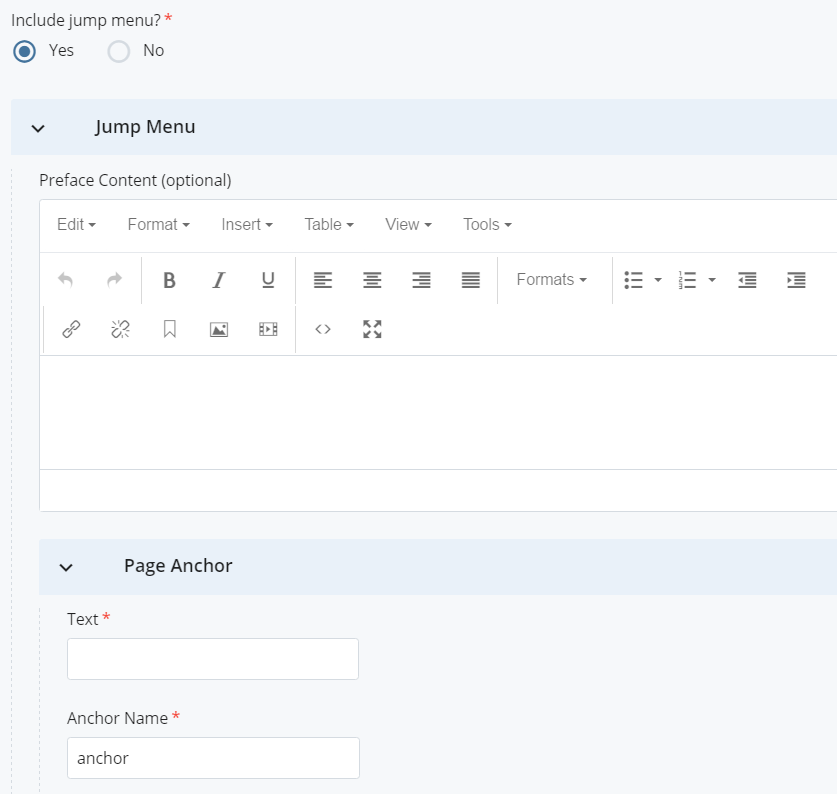
To use this menu, select "Yes" for "Include jump menu?" Click the "∨ Jump Menu" box that appears. You'll first notice an area for optional Preface Content, which would appear above the jump menu on the page. Use this area for an introductory message to your page if necessary.
Below is the area to create your menu links. You must fill in the field for the link Text (the text that will appear in the menu on the page)and the Anchor Name (the section of the page you to jump to). Then, you must create anchors with the same names used in the Body Content section in the area of the page you wish to link to. See the "Anchor Links" section of this guide to learn how to create anchors.