The Toolbar
The Cascade’s toolbar in the Home Screen has been simplified to contain several functions.
Some toolbar items are simply buttons; others are drop-down menus (indicated by a double downward arrow  ).
).
The functions available in the Toolbar are similar to those found on the Dashboard, but are consistently available.
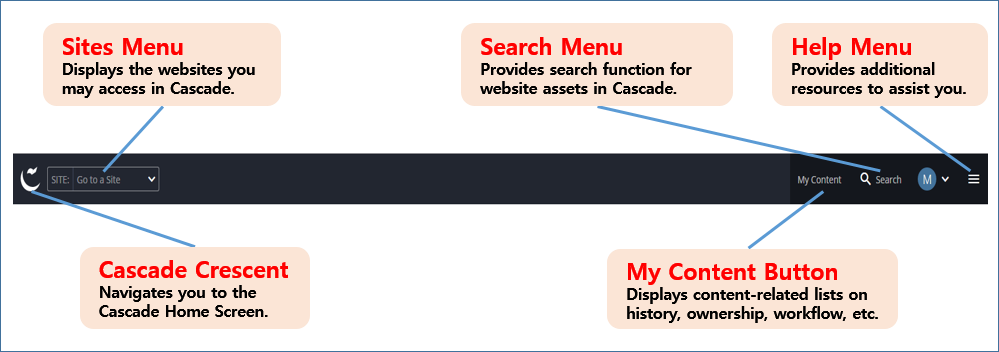
- The Cascade Crescent menu leads you to the Home Screen dashboard, with user-defined widgets.
- The Sites menu gives you a drop-down list that displays the accessible websites, and also a search bar to filter the sites list
- The My Content button is used to show you content-related lists of recently viewed assets, content ownership, drafts, assigned tasks and more. This button appears in the Help menu at smaller screen sizes.
- The Search menu provides a function to search for website assets and a shortcut to a list of most recently viewed assets in the My Content section.
- The Help menu allows you to get in-system help such as reports and get to the Cascade knowledge base for more technical information.
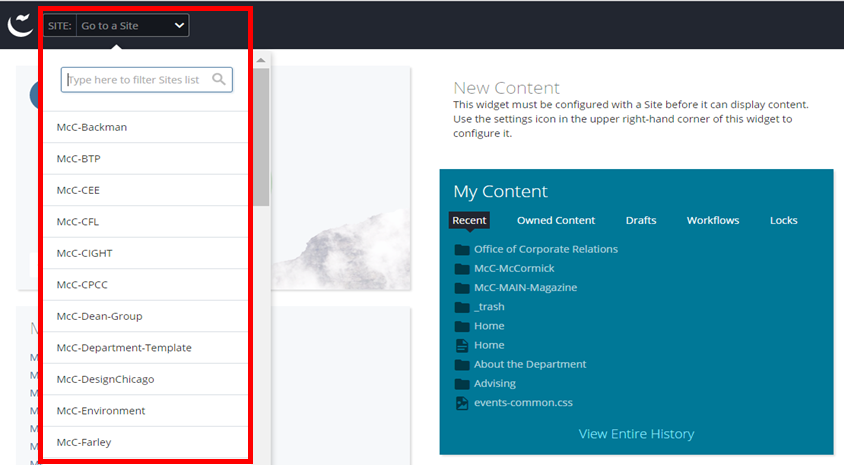
The Sites Menu
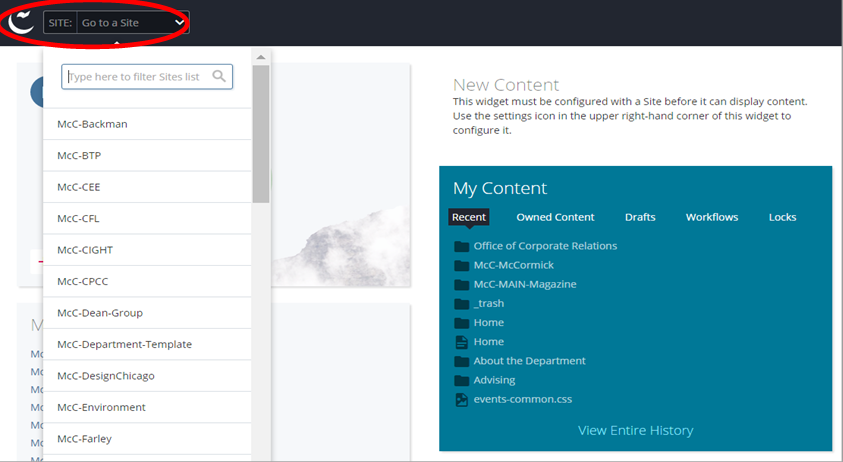
You’ll notice a drop-down menu at the upper left of the Home Screen that says “SITE: Go to a Site” by default. Clicking the down arrow on the menu tab reveals the sites you have access to view and edit in Cascade. Also, you can type keywords to filter the site list.
Once you choose a website, then you are redirected to the Site Content page as below.
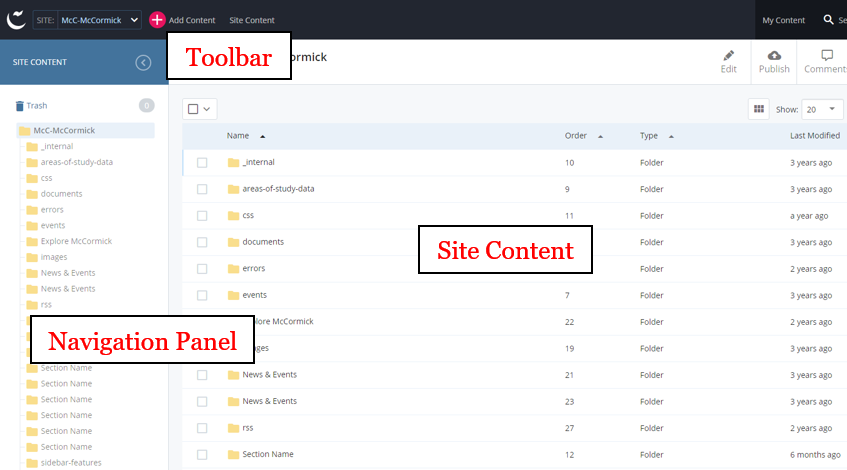
- Unlike the one in the Home Screen, the Toolbar menu on the Site Content page allows you to add website content through the
 button.
 - The Navigation Panel windowpermits you to navigate the website content. You can hide this panel at any time by clicking the arrow icon

- The Site Content window displays content details and previews.
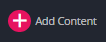
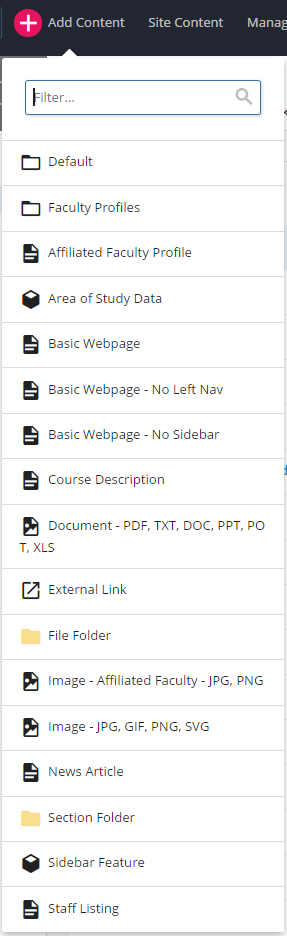
The Add Content Button
The Add Content button is available when you browse to a certain site mainly through “SITE: Go to a Site” drop-down menu, or a recent history link in “My Content >> Recent” Widget. In the drop-down menu, you can either search for the site you’d like to navigate to, or simply click it. In the My Content >> Recent Widget, you can click a link to the site.
If you click the Add Content button, a drop-down menu will appear. You can either search for the name of an asset you’d like to create in the search bar, or select an asset from the list.
There is a shortcut for creating a new asset in the New Content Widget of the Dashboard. See New Content Widget section of this document for further instructions.
The Navigation Panel
The navigation panel uses the “tree” structure that will be familiar to any user of Windows: a listing of folders is visible, and the user clicks on each folder to view its contents. Clicking the folder expands or contracts that folder’s contents, as shown below.

To begin browsing the site in Cascade, click on a folder in the navigation panel to expand the folder tree. Once the folder expands, the sub-folders and page assets are displayed in the same directory structure that exists when published. Choosing a page in the folder, such as “index”, will bring up a preview of the web page in the site content window, just as it would appear online.
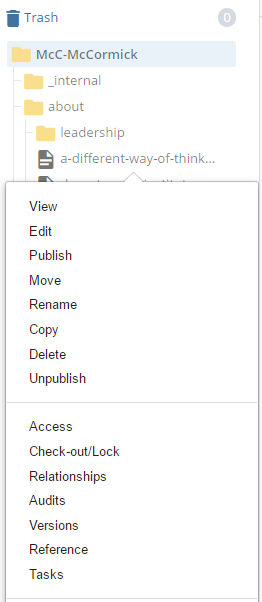
The Contextual Menu
When you right-click on an asset, the contextual menu is displayed for that asset. The contextual menu is a shortcut that allows you to quickly jump into editing and other functions available in the content page Toolbar, without waiting for the page preview to be loaded in the Site Content window first.
The Trash Bin
The Trash Bin contains assets you and other site users have recently deleted. These assets are kept in case of accidental deletion. Note that assets in the Trash Bin are deleted permanently after 15 days.
Access the trash bin on top of the navigation panel.
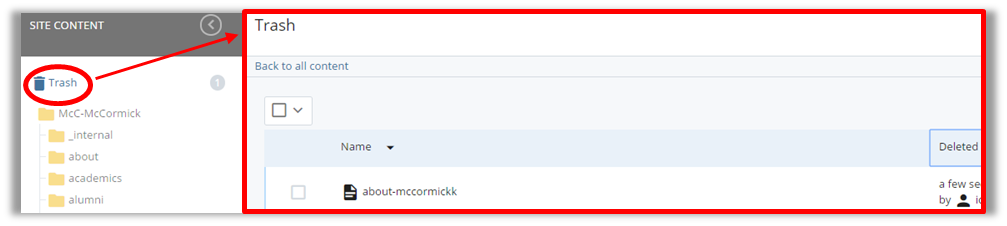
To restore an asset to its original location, select the asset and click the leftward curve icon on top of the Trash list.
